
Last Updated on September 29, 2026 by Digiinte.com Team
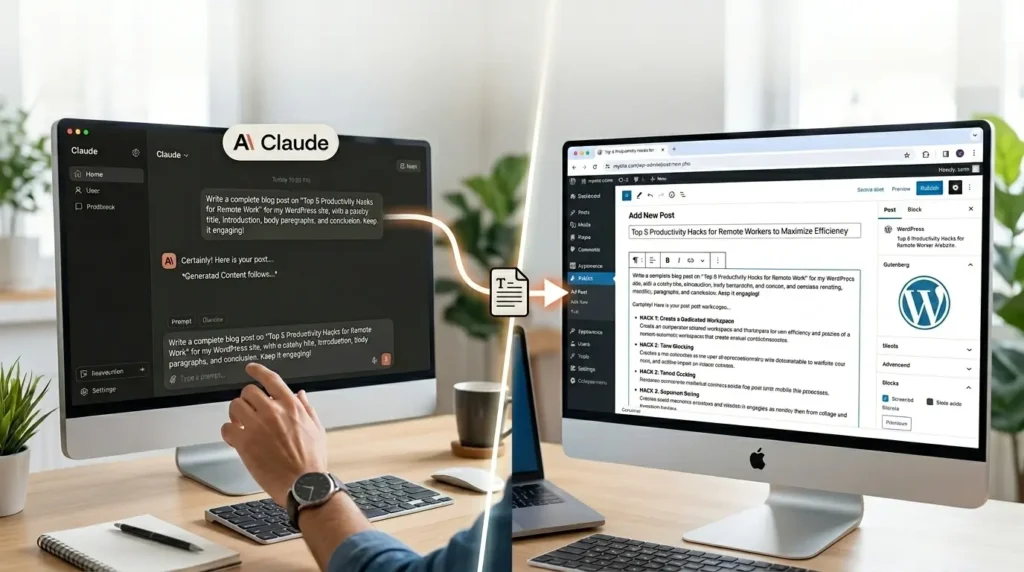
For years, using AI on a WordPress site meant one of two things, copying text out of a chat window and pasting it into the block editor, or installing a plugin that bolted a single generate button onto one screen. Neither approach lets the AI actually touch your site. That has changed. Through a protocol called MCP, you can now connect ChatGPT or Claude directly to your WordPress dashboard and manage real tasks, drafting posts, checking plugin updates, organizing media, straight from the same chat window you already use, with every change shown to you before it happens.
- Key Takeaways
- What It Actually Means to Manage WordPress with AI
- Three Ways to Use AI With WordPress, and Where Each One Breaks
- What Is MCP, in Plain Terms
- Before You Connect Anything: Set Up a Dedicated User Account
- Method 1: Connecting a WordPress.com Site Directly to Claude
- Method 2: Using Jetpack AI on a Self Hosted Site
- Method 3: Using a Dedicated Plugin Like WPVibe
- Method 4: A Fully Custom Setup for Developers
- What You Can Actually Ask Your AI Assistant to Do
- Keeping This Safe on a Live Site
- Frequently Asked Questions
- Conclusion
If you have mainly used ChatGPT or Claude for drafting content so far, our roundup of 12 free AI tools that actually save content writers time covers that side of the workflow in more depth. This guide picks up where that leaves off, once you are ready to let the assistant manage the site itself rather than just help you write for it.
Key Takeaways
- MCP, short for Model Context Protocol, is what allows ChatGPT or Claude to connect directly to your WordPress site rather than just generating text you have to paste in yourself
- There are three general approaches, copy and paste, a single purpose AI plugin, and a fully connected AI assistant, each with a different ceiling on what it can actually do
- WordPress.com sites can connect Claude through an official, built in connector with no plugin installation required
- Self hosted sites typically connect through a plugin like WPVibe, or through Jetpack AI if you already run Jetpack
- Developers can set up a fully custom connection using WordPress application passwords and the REST API
- Giving the AI a dedicated, limited permission user account is the single most important safety step before connecting anything to a live site
What It Actually Means to Manage WordPress with AI
Managing WordPress with AI does not mean adding a chatbot widget for your site’s visitors, which is what a lot of people assume at first. It means connecting the AI assistant you already use, ChatGPT or Claude, to your own WordPress dashboard, so that when you type an instruction in plain language, the assistant reads your site’s actual content and makes the change directly, rather than just handing you text to copy elsewhere.
Three Ways to Use AI With WordPress, and Where Each One Breaks
| Approach | What It Does | Where It Breaks |
| Copy and paste | You ask the AI to write something, then paste it into wp-admin yourself | Fine for a single page, unworkable once you are managing dozens of posts or products |
| A single purpose AI plugin | Adds a generate button to one specific screen, usually a content editor | Locked to that one job, cannot install plugins, edit templates, or touch anything outside its narrow scope |
| A connected AI assistant via MCP | ChatGPT or Claude connects to your site and can do whatever you explicitly allow | Genuinely powerful, which means access needs to be scoped carefully to avoid accidental changes |
The third approach is the one this guide focuses on, since it is the only one that turns your AI assistant into something that can actually manage the site rather than just help you write for it.
What Is MCP, in Plain Terms
MCP stands for Model Context Protocol, an open standard that lets an AI assistant connect to outside tools and data sources through one consistent method, instead of every website needing its own custom integration built from scratch. Think of it like a universal charging cable, one connector standard that works across many devices rather than a different proprietary cord for each one. Once your WordPress site exposes itself through MCP, any MCP compatible assistant, including both ChatGPT and Claude, can connect to it and interact with your content and settings through natural language instructions.
Before You Connect Anything: Set Up a Dedicated User Account
This step matters more than any of the connection methods below. Before pointing any AI assistant at a live WordPress site, create a separate user account specifically for that connection, and give it only the role it actually needs. An assistant that will only draft blog posts should be set up as an Author or Editor, not an Administrator. This way, even if something goes wrong or an instruction is misunderstood, the potential damage is limited to what that specific role is capable of doing. Review this permission level periodically as your use of the assistant expands, rather than defaulting to full admin access for convenience.
If you manage a WordPress multisite network specifically, user roles work a little differently at the network level, and our guide on how to add a super admin user role in WordPress multisite is worth reading before deciding what level of access an AI assistant should have across an entire network rather than a single site.
Method 1: Connecting a WordPress.com Site Directly to Claude
If your site is hosted on WordPress.com, this is the simplest path, since Claude has an official, built in connector requiring no separate plugin installation.
- In Claude, open Customize in the sidebar, then select Connectors.
- Look for the WordPress.com connector in the directory and select it.
- Sign in with your WordPress.com account credentials when prompted, and approve the requested access.
- Once connected, you can ask Claude directly to find a post, check your site’s traffic, draft new content, update an existing page, or summarize recent comments.
This method keeps everything within Claude’s own interface, and access stays limited to whatever you explicitly approve during setup.
Method 2: Using Jetpack AI on a Self Hosted Site
If your site is self hosted but already running Jetpack, Jetpack’s own AI integration offers a built in path to connect ChatGPT or Claude without a separate third party plugin.
- In your WordPress dashboard, go to Jetpack, then Jetpack AI, then MCP and Connectors.
- Toggle on Enable MCP access.
- Click Connect external AI agent and choose Claude, ChatGPT, or another compatible assistant from the list.
- Follow the authentication steps shown to complete the connection.
Once connected, you can ask your assistant to update outdated plugins, check overall site health, find posts that have not been touched in a long time, or flag pages with weak titles or descriptions, all through plain language requests.
Method 3: Using a Dedicated Plugin Like WPVibe
For self hosted sites not running Jetpack, a dedicated connector plugin such as WPVibe provides a more general purpose bridge between WordPress and AI assistants.
- Install and activate the plugin from your WordPress dashboard in the usual way.
- Open the plugin’s setup screen, which generates a ready to use connection prompt containing your site’s specific details.
- In ChatGPT, this typically involves connecting through the Apps section and searching for the plugin by name. In Claude, this involves adding it as a custom connector through the Customize and Connectors menu.
- Paste the setup prompt provided by the plugin into your AI assistant’s chat to complete the authorization.
This route works well if you want one consistent AI management setup across multiple self hosted sites, rather than relying on a host specific built in option.
Method 4: A Fully Custom Setup for Developers
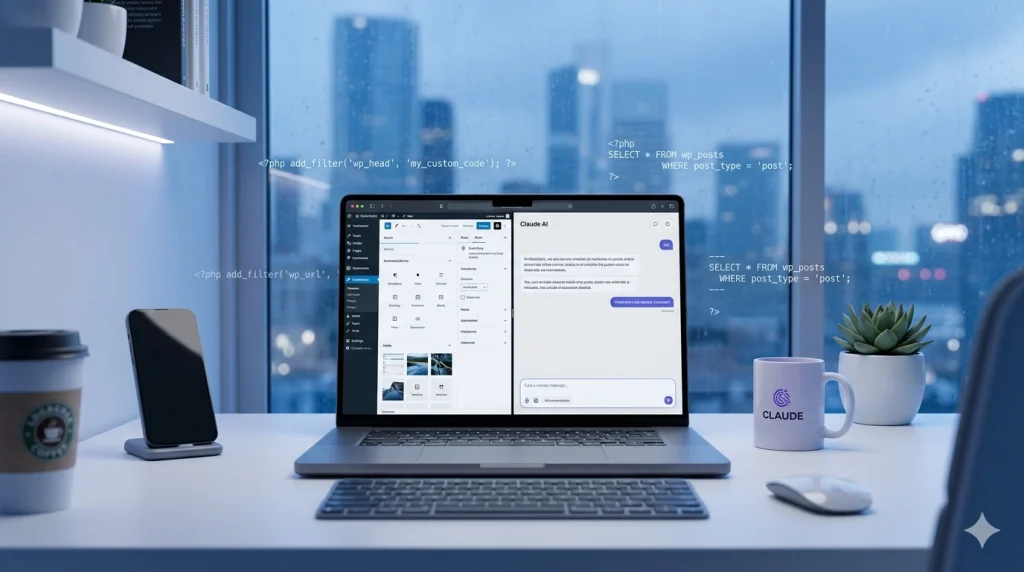
If you want full manual control rather than relying on a third party plugin, WordPress’s own Application Passwords feature combined with its REST API lets you build a custom MCP connection yourself.
- In wp-admin, go to Users, then your profile, and scroll down to the Application Passwords section.
- Enter a descriptive name, such as Claude or Content Assistant, and click Add New Application Password. Copy the generated credential immediately, since it will not be shown again.
- Test that the credential works from a terminal before connecting anything else:
curl -u "yourusername:abcd EFGH 1234 wxyz 5678 ijkl" \
  https://www.yoursite.com/wp-json/wp/v2/posts
- Hand this same username and application password pair to an MCP compatible tool capable of making authenticated web requests on your behalf. For Claude Code specifically, this can be configured directly:
claude mcp add wordpress \
  --env WP_API_URL=https://www.yoursite.com/ \
  --env WP_API_USERNAME=yourusername \
  --env "WP_API_PASSWORD=abcd EFGH 1234 wxyz 5678 ijkl" \
  -- npx -y @automattic/mcp-wordpress-remote@latest
- Restart the application fully so the new configuration loads, then confirm the connection by asking directly what WordPress tools are now available.
This approach takes more setup effort but gives you the clearest visibility into exactly what credentials and permissions are involved, which some developers and agencies prefer for client sites.
What You Can Actually Ask Your AI Assistant to Do
Once connected through any of the methods above, the kinds of requests that work well in plain language include:
- Drafting a new blog post on a specific topic and saving it to drafts for your review
- Finding and listing posts that have not been updated in a long time
- Checking which plugins currently have updates available, and helping you decide which ones are still worth keeping active. Our guide on how to reduce plugin bloat without breaking your site covers the manual side of this same process in detail
- Reviewing recent comments and flagging anything that looks like spam
- Identifying pages with weak titles or meta descriptions that could use improvement, an area our top 20 free SEO tools roundup also covers from a tooling perspective
- Locating unusually large, unoptimized images across your media library, the exact problem our WordPress image optimization plugins compared guide walks through solving
In every case, changes should be shown to you for confirmation before they are actually applied, rather than happening silently in the background.
Keeping This Safe on a Live Site
A few practices make a real difference in keeping this arrangement safe rather than risky.
- Use the lowest user role that still lets the assistant do its intended job
- Review the specific permissions or scopes a connector requests before approving them, rather than accepting everything by default
- Keep application passwords or connector credentials somewhere secure, and revoke them immediately if a device or account is compromised
- Periodically review what the connected assistant has actually changed, especially early on, to confirm it is behaving as expected
For a broader look at securing a WordPress site beyond just AI access specifically, our guide on 9 best free WordPress security plugins covers additional protective steps worth layering on top of this.
Frequently Asked Questions
Conclusion
Connecting ChatGPT or Claude directly to your WordPress site turns routine admin work, drafting posts, checking plugin health, tidying up media, into something you can hand off through plain conversation rather than clicking through the dashboard manually. Start with whichever connection method matches your hosting setup, create a properly limited user account before connecting anything, and review the assistant’s proposed changes as you go. Done carefully, this genuinely saves time without handing over more control than you intended.

Behind every post at digiinte.com is a team of experienced SEO analysts and digital growth specialists. Our insights are backed by real data, industry research, and hands-on campaign experience — so you get advice that actually moves the needle.